In the last 20 years, the technological advancements within industrial metrology have been enormous. In this blog, 3D metrology specialist GOM discusses what you should expect from industrial metrology in 2021, including the use of Computer Tomography.
Modern metrology stems from the French Revolution with a political motivation to harmonise units throughout France where a length standard was proposed. In March 1791, the metre was defined and measurement as we know it today began.
Industrial metrology is concerned with the application of measurement to manufacturing and other processes and their use in society, ensuring the suitability of measurement instruments, their calibration and quality control. In the last 20 years, the technological advancements within industrial metrology have been enormous. Tasks that can be completed with one system in less than an hour would have needed multiple systems and days to complete.
Computer Tomography (CT) first came about in 1972 and was primarily used by the medical industry. Many advances in CT scanning have allowed for its use in the industrial field of metrology. CT allows metrologists to see and measure the complete part – inside and out – without the need for complex probe set-ups. This technology is completing the work of multiple inspection systems and techniques, such as:
- Electromagnetic Testing which uses an electric current or magnetic field to pass through a conductive part.
- Liquid penetrant testing involves applying a fluid with low viscosity to the material to be tested. The fluid seeps into any defects such as cracks or porosity before a developer is applied, allowing the penetrant liquid to seep upwards and create a visible indication of the flaw.
- Destructive testing involves physically destroying the part in order to inspect the internals.
- Visual testing, also known as visual inspection, involves the operator looking at the test piece through a magnifier or computer-assisted system.
When it comes to the medical industry’s metrology requirements, accuracy is never more important than when dealing with medical parts. Historical systems could leave large areas of a part, such as complex plastic components, unmeasured simply because the technology did not allow for quick and easy full-field measurement. Speed is also essential – for example, the scientists working on the Covid vaccine. The processes they followed to ensure the safe rollout of millions of doses across the world would not have been possible without metrology.
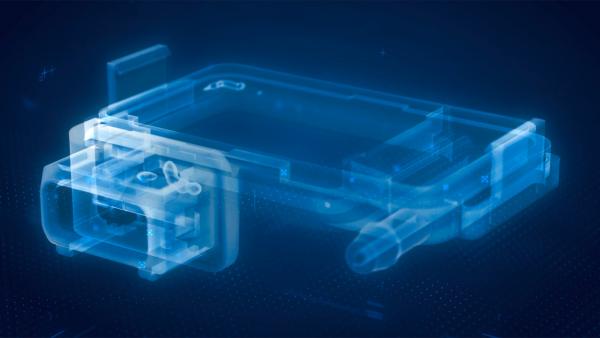
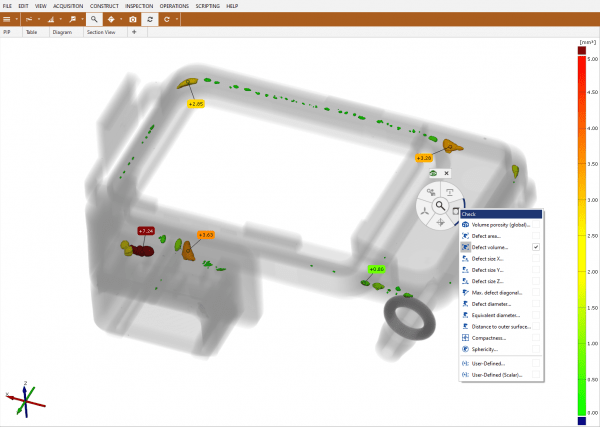
Industrial CT is an ideal tool for medical metrology. Working on tiny components such as epi-pens and inhaler parts when you need exact internal measurements is extremely tricky using probes. CT scanning provides views inside components in their functioning position without disassembly. Then, the GOM Volume Inspect software allows for measurements to be taken from the CT dataset for volume rendering. These measurements are useful for determining the gaps between assembled parts or the dimension of an individual feature. A CT scanner removes all margin for human error and creates accurate, repeatable and traceable results.
During product development and prototyping, the ability to CT the complete product and see how individual parts mate together is crucial for understanding if there are any design flaws and areas that may fail in the future that can be improved. Imperfections in plastic components such as flash and other excess waste materials can be detected within a part at the manufacturing stage, showing potential issues in injection moulding tools. Previously faults like this would only have been found by taking assemblies apart, delaying the manufacturing process and causing excessive waste.
A CT can efficiently scan multiples of the same part while the software almost simultaneously detects any parts not meeting requirements. Depending on the component size, up to 100 parts can be scanned simultaneously, saving vast amounts of time and resources normally needed to achieve product compliance.
An industrial CT scanner really is at the forefront of metrology technology in 2021 – it can be used for one complete prototype part but also production and new tool buy off and tool repair, checking parts back to CAD and even reverse engineering. Now is the time to invest in CT metrology technology. Companies are already reaping the benefits of reduced measurement time and, therefore, the increase in profit.


